Creating textures with tiles
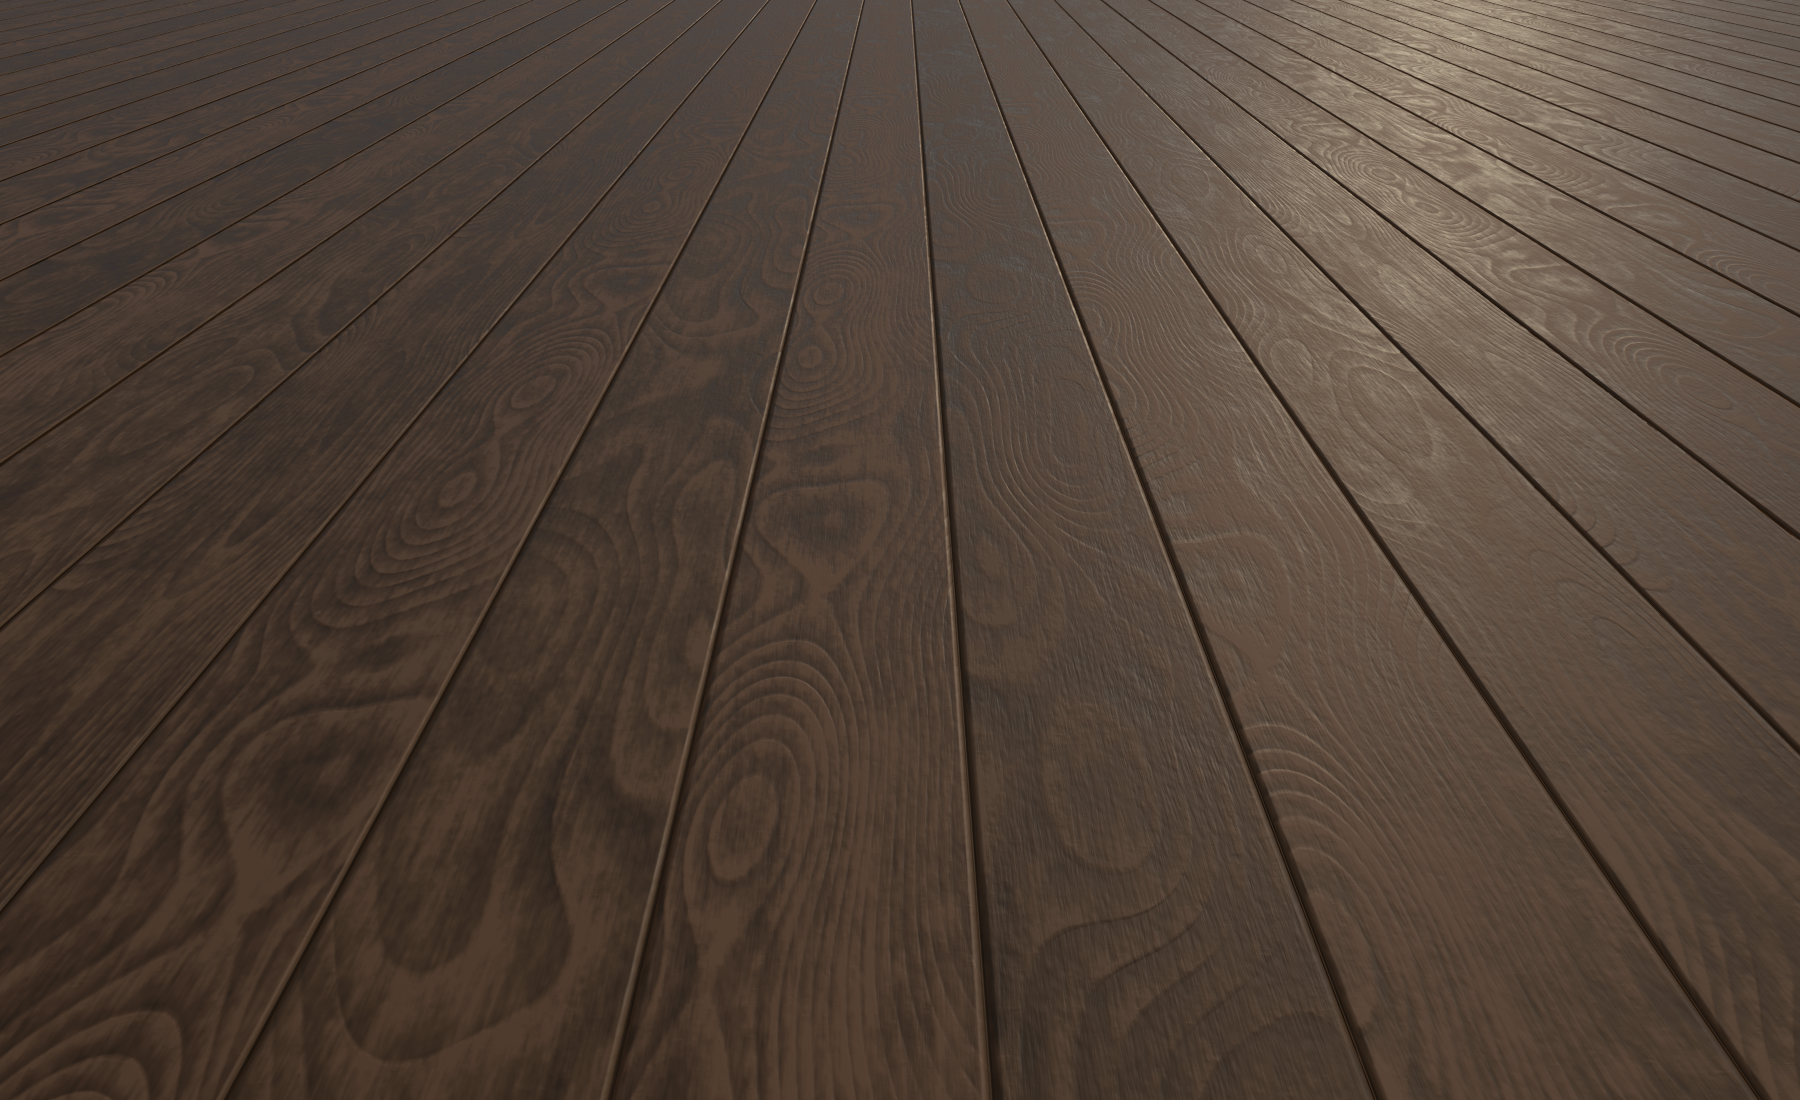
A lot of the textures I create contains tiles, such as wood boards, paving stone, ceramic tiles etc. When you create these types of materials, you have to be aware that they should look like individual tiles, not made of a large continuous sheet split into parts.
If you pay attention to different tiles in the comparison image, you can see that in one picture the pattern continues through several tiles. This makes the material look unrealistic, while in the other material the pattern is offset for each tile, helping improve the realism of the material.
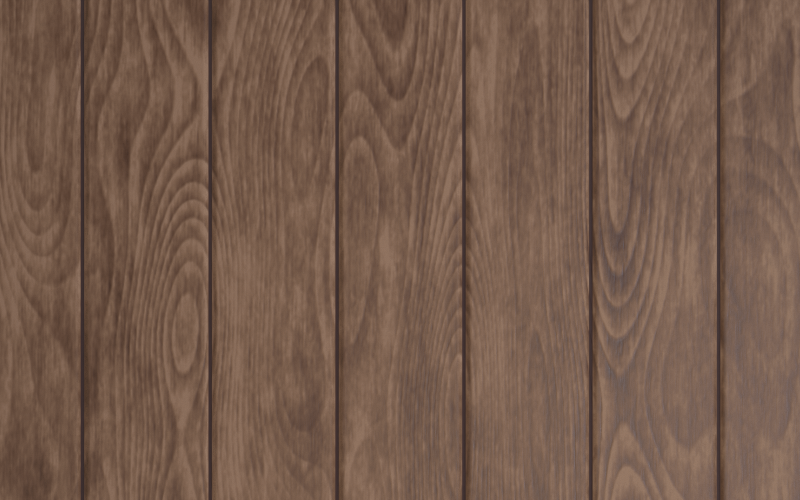
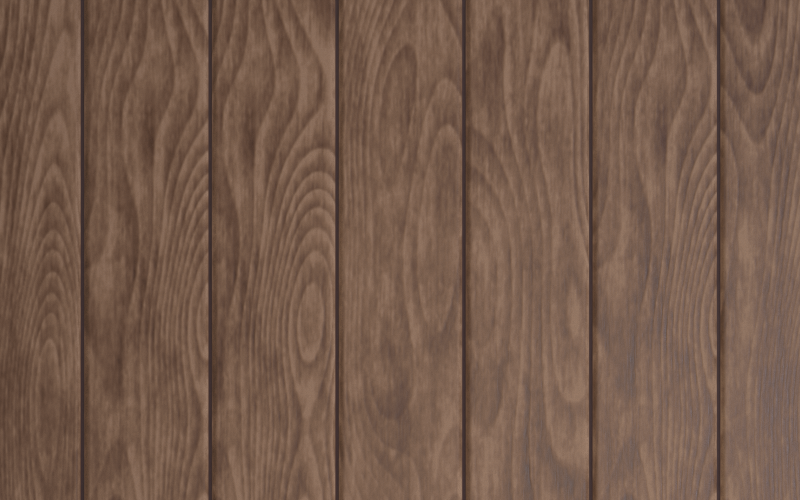
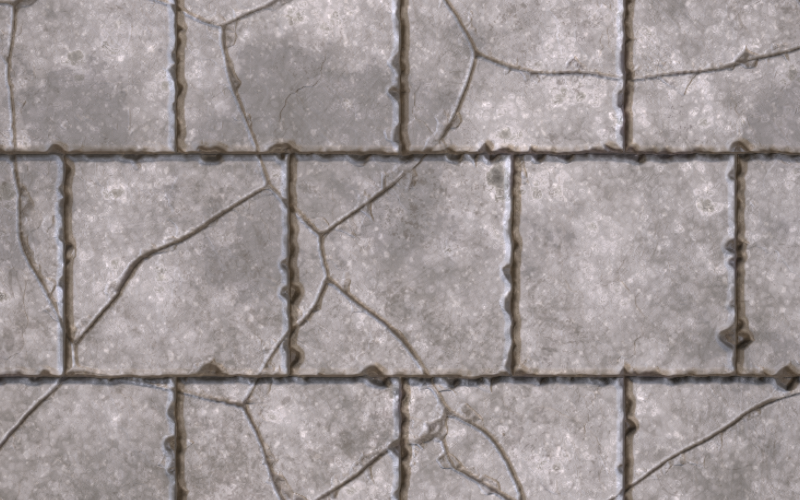
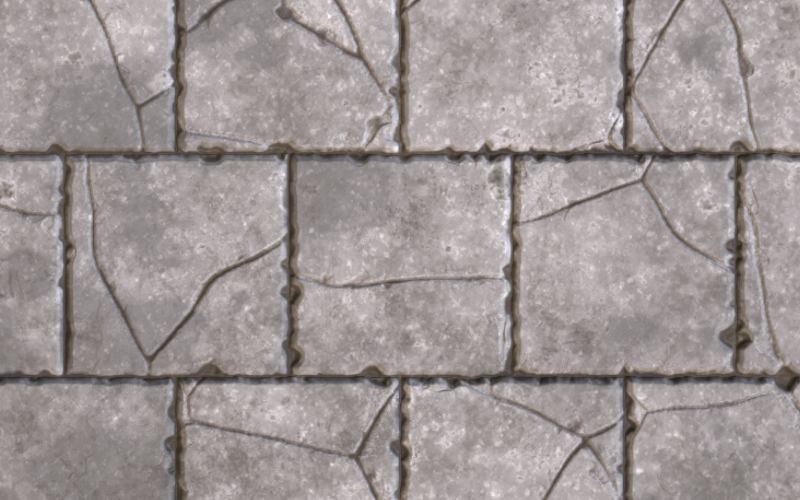
If you are creating a stone material, this continuous effect becomes much more visible to the viewer. You expect each stone to have its own color pattern and chips or cracks, however, some discoloration could happen ‘after installation’ so that can be added on-top of this effect again.
If you compare the two different images of the stone material, you can see that one of them is clearly continuing into other stones, which might be what you want, but if so you should add this on top of the cracks on each separate stone – as seen in the second image.
Substance Designer
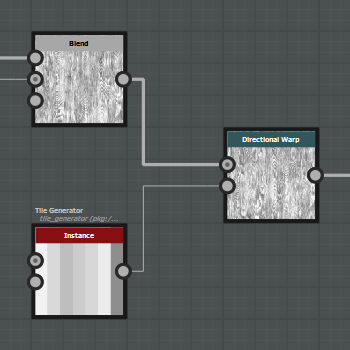
If you’re using substance designer to create your materials, you often create the tiles in the material by using the Tile Generator. This node outputs a pattern, which you then use in the Intensity Input of the Directional Warp node, and set the Intensity parameter within the node to a high value (I used 6500).
To achieve some color variation on the tiles, you can also use this pattern in a blend over your base color to achieve some variation in color. This can help make the tiles look more realistic, but if you are tiling the completed material – be careful with the amount, since it will be very visible.
Doesn’t work for me when I try using it on a mat using the arc pavement as a base shape, it only distorts the edges of each tile and ignores everything else.